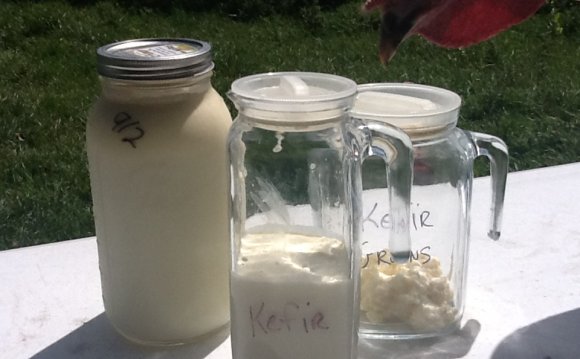
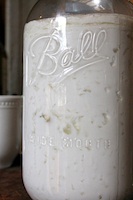
 When cultured precisely, milk kefir has a thick yet pourable consistency, like buttermilk or heavy cream. But it can also take on other consistencies, depending on the factors surrounding its culturing.
Because these factors – time, temperature, and the amount of milk being cultured – often differ from day to day, milk kefir may differ in flavor and consistency from day to day as well. While under-cultured milk kefir looks just like milk and should be left to continue culturing, over-cultured kefir has a thickness that can make separating the grains difficult.
Identifying Over-Thickened Milk Kefir
1. Milk kefir can look like a thin yogurt when it has just finished culturing. At this point it is pretty simple to pour it through a strainer and remove the kefir grains. Beyond this point the kefir begins to thicken into a more solid mass, as shown at right, in which little pockets of whey begin to appear between the thickened curds.
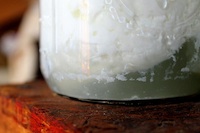
2. After this stage, a large mass of curds begins to separate from the whey portion of the kefir. You will be able to visibly identify this extreme by the presence of curds and whey, as seen in the photo at left.
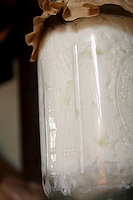
3. Other characteristics include a strong yeast or cheese odor, as well as a tangier-than-usual kefir flavor. In the photo at right, the milk kefir has begun to separate more fully into curds and whey and the grains are found somewhere within the mass of curds.4. When you spoon out the milk kefir, as in the photo at left, yogurt-like curds sit amongst cloudy whey in the spoon. At this point you have a few options for fishing out your milk kefir grains.
How to Strain Thickened Milk Kefir
One option is to pour the entire batch into a bowl and attempt to fish the grains out with very clean hands. This method makes it difficult to identify if you have, in fact, removed all of the milk kefir grains.
 Instead, we recommend recombining the milk kefir curds and whey and attempting to strain them out as you would properly-thickened milk kefir.
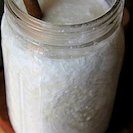
2. The three photos at right and below demonstrate the change in consistency after the curds and whey have been mixed together. Notice that the curds are now much smaller and the whole mixture, while still grainier than regular kefir, is more homogenous than the milk kefir before shaking or stirring.
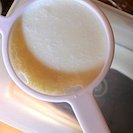
3. At this point, the milk kefir is ready to be strained using a plastic strainer. This step is beneficial not only because it helps to separate the grains from the milk kefir, but it also further breaks down the curd of the over-thickened milk kefir, giving you a smoother result.4. To encourage the thickened milk kefir through the strainer there are two methods that work well:
- Tap the strainer gently against the side of the vessel to encourages the milk kefir through the bottom of the strainer.
- Use a rubber spatula or wooden spoon to stir the curds and encourage them through the strainer.
5. The milk kefir should now begin to filter into the waiting vessel. It will be much smoother than it was before stirring, but still slightly grainier than properly cultured milk kefir.
6. The grains may be easy to distinguish, as in the photo at left, or there may be some curds surrounding the grains. Once all of the milk kefir is strained through as much as possbile, the kefir grains can be added to the next batch of fresh milk.
7. Finally, the milk kefir can then be refrigerated, flavored, or enjoyed immediately!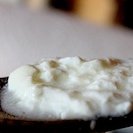
YOU MIGHT ALSO LIKE
