 We love the tangy and fresh flavor of kefir, a fermented beverage often described as drinkable yogurt. However, those of you who aren’t as fond of kefir might say that describing it as “tangy” is a little too kind. What, you wonder, is there possibly to like about what is essentially a glass of thick, sour milk?
Loads of healthy gut flora, for one. Probiotics have numerous health benefits and eating fermented foods like kefir is a great way to make sure you’re getting enough. But we’re not here to tell you that you should plug your nose and chug kefir just because it’s good for you. We’re here to tell you that after you try homemade coconut milk kefir, you’re going to chug it because it tastes really good. Unlike kefir made from cows’ milk, coconut milk kefir doesn’t have a strong fermented, sour flavor. It is pleasantly tangy, but the naturally sweet taste of coconut dominates. The texture is smooth and rich and slightly thinner than yogurt. Both the flavor and texture of homemade kefir is superior to any store-bought coconut milk kefir we’ve tried.
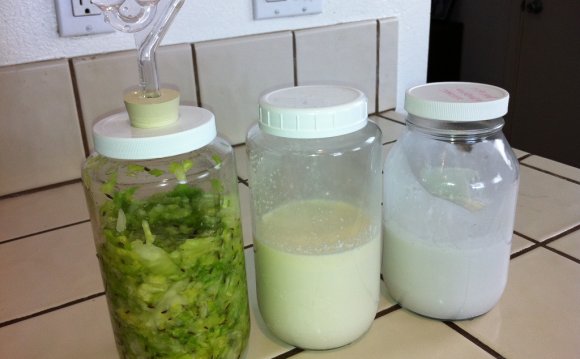
 Making coconut milk kefir requires an initial investment in kefir grains, but you only have to buy them once. The “grains” are live active cultures consisting of yeast and bacteria and are called grains only because of their appearance (you can also buy powdered starter culture, but it contains fewer bacteria strains and over time is more costly). The kefir grains can be bought online, or you can get some from a friend who already has a batch going. The process of making kefir is detailed below, but it is essentially this: Re-hydrate kefir grains in cows’ milk for 5-7 days at room temperature, mix hydrated grains with a can of coconut milk and let sit at room temperature for 12-36 hours. That’s it! Your coconut milk is now a probiotic beverage.
 You can drink homemade coconut milk kefir straight, use it as a base for smoothies or ice cream, use it in place of buttermilk in recipes, pour it into your coffee or over berries for dessert.
And one last thing…the correct pronunciation is keh-FEAR, not KEY-fur. However you say, though, it’s a healthy addition to your Primal eating plan. Now, even those among you who are averse to dairy or to the strong flavor of traditional kefir don’t have an excuse – give coconut milk kefir a try!
Coconut Milk Kefir
Ingredients:
- 1 tablespoon of kefir grains
- 1 can of coconut milk (or 1-2 cups of refrigerated coconut milk)
Instructions:
If the kefir grains are dehydrated (as they are from most online sources) you must first re-hydrate them in cows’ milk. Combine the grains with 1 cup of cows’ milk and set out at room temperature in a loosely covered glass container. For 5-7 days, strain the grains out each day and then place them in a fresh cup of milk. When the batches of milk take on a slight fermented smell and thicken, your grains are ready.
Combine the grains with coconut milk in a glass container. Cover with a cloth secured with a rubber band and let sit in a warm place (68-85 degrees) for 12-24 hours. Once the coconut milk has thickened and has a slightly sour flavor, it has turned into kefir. Remove the grains, refrigerate and enjoy!
YOU MIGHT ALSO LIKE


Share this Post
latest post
-
 Six Star Pro Nutrition Casein protein July 18, 2018
 -
 What foods have Casein protein? July 15, 2018
 -
 Kefir grains at whole foods July 12, 2018
 -
 Cultured milk products July 9, 2018
 -
 What stimulates milk production? July 6, 2018
 -
 Milk and mucus production July 3, 2018
 -
 Does whey protein have Casein June 30, 2018
 -
 What is Micellar Casein protein? June 27, 2018
 -
 Casein protein necessary June 24, 2018