If you’ve delved into the world of fermented foods then surely you’ve heard of milk kefir. There are lists of up to 100 things kefir can cure, but it’s easy to be skeptical of these types of claims.
But if you’ve made kefir yourself and consumed it on a regular basis then you know where the word kefir comes from. In the original language kefir literally translates to “good feeling” because of how it makes one’s body feel after drinking.
I’ve been making kefir off and on for some time and can attest to this good feeling. I’m told it is the enzymes, probiotics, B vitamins, and calcium that are in large supply in kefir that give us this feeling. I can’t say I know for sure about any of those things. What I can say, though, is that everyone in our family tends to do better when consuming this cultured milk product.
Kefir vs. Yogurt
Milk kefir is slightly thinner than yogurt and slightly thicker than milk. It has a tangy, slightly yeasty flavor not that different from plain yogurt. Kefir is different than yogurt, though, in that it contains both bacteria and yeasts and contains many more types of bacteria strains than yogurt. For this reason it is generally considered better for you than yogurt.
It is also easier to make than yogurt since it does not require a warm temperature of 110 or so degrees and can be cultured on a kitchen counter.
How to Make Milk Kefir
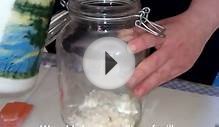
You have two options in obtaining a kefir culture: get some kefir grains or get a powdered starter culture (cultures for health is my favorite source of both). Some of the properties of the milk kefir are slightly different between the two starter cultures, including the various strains of bacteria present. Both cultures produce a healthy milk kefir and are made in a very similar way.
Right now I am using a powdered starter culture because I haven’t been able to get my hands on some good kefir grains since I killed my last batch in a cross-country move followed by having a new baby.
Making kefir with the starter culture is as simple as:
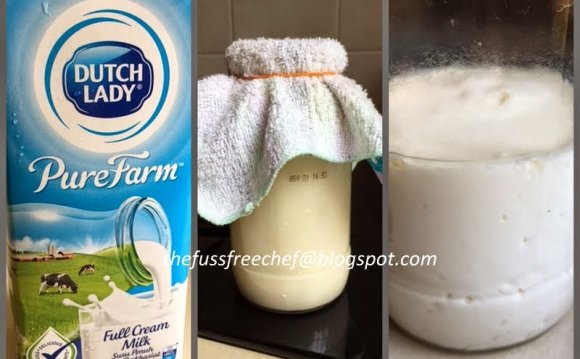
- Add packet of starter culture to one quart of cow’s milk (raw or lightly pasteurized) or two cups of goat milk. I honestly don’t know why there is a discrepancy in the amount of milk needed to make your first batch with the starter, I just know that using 2 cups of goat milk worked for me so I’ll continue with that.
- Stir the starter into the milk really well with a wooden spoon. Cover loosely and allow to culture at room temperature until it has thickened slightly and has a tangy smell to it, about 12-24 hours depending on temperature. Refrigerate.
You now have a batch of kefir that can be used up to seven times as a starter culture in the following ratios:
- 6 tablespoons per quart of cow or goat milk
- 2/3 cup per half gallon cow or goat milk
- 1 1/3 cup per gallon of milk
To make the most of this starter I like to culture at least a half gallon at a time. Because each packet will be used seven times and there are six packets per culture purchased I can make between 20 and 40 gallons of kefir from this purchase.
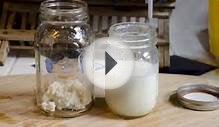
Making kefir from grains is my favorite way because it is both more economical and more sustainable. The process is exactly the same in time and method. The only difference is that after each batch you remove the kefir grains (a collection of gelatinous bits and pieces) and place them in a new vessel which you then cover with milk to make your next batch.
Kefir may take some time to get used to because of its unique flavor, but it is easily masked in smoothies or over granola. Eventually you come to appreciate both the flavor and the life-giving qualities of this cultured food.
YOU MIGHT ALSO LIKE
Share this Post
latest post
-
 Six Star Pro Nutrition Casein protein July 18, 2018
 -
 What foods have Casein protein? July 15, 2018
 -
 Kefir grains at whole foods July 12, 2018
 -
 Cultured milk products July 9, 2018
 -
 What stimulates milk production? July 6, 2018
 -
 Milk and mucus production July 3, 2018
 -
 Does whey protein have Casein June 30, 2018
 -
 What is Micellar Casein protein? June 27, 2018
 -
 Casein protein necessary June 24, 2018