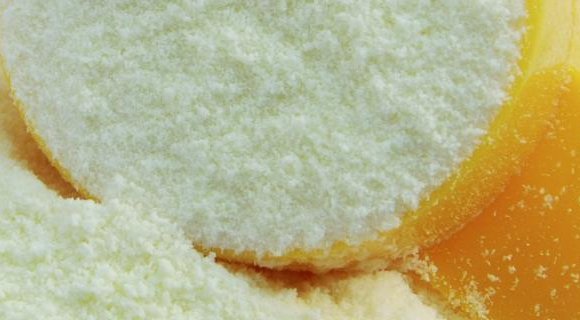
Milk kefir grains are a symbiotic culture of bacteria and yeast held in a polymer created by the bacteria. Milk kefir grains feed off the lactose in milk to produce lactic acid, acetic acid, various other acids, and carbon dioxide. Although cow's milk is most commonly used, you may also use goat's milk, although the grains make take some time to adjust since cows milk and goats milk differ a bit in composition.
Kefir is a lacto-fermented drink. Lacto-fermentation is the process where lactobacilli (lactic acid producing bacteria) convert sugars or starches into lactic acid. Lactic acid is a natural preservative that prevents the growth of harmful bacteria. Used in traditional cultures to preserve foods, lacto-fermentation creates a food teeming with probiotics, good yeasts, and increased nutrient values. The synthesis of lactic acid and other acids often increases vitamin values, including vitamin C and various B vitamins. Kefir is widely consumed in many cultures, especially in the Caucus mountains of Russia, where people are reported to live over 100.
To make your own milk kefir, you may get milk kefir grains from online stores or through local sources. A good place to check is with your local Weston A Price Foundation chapter. If you've received live milk kefir grains, they are usually packed with a bit of milk or kefir to keep them fed. Before making your first batch of kefir, strain off the milk or kefir and place your grains in a fresh jar of milk, following the directions below for brewing milk kefir. If the liquid the grains are packed in looks clumpy, give it a good stir with a wooden or plastic utensil before straining. The milk kefir grains look like white cauliflowerets or clumped grains, rather squishy and rubbery in texture. Do not rinse the kefir grains in water; just strain off any excess milk or kefir.
Straining Kefir Grains
Use a non-metal strainer that’s not too finely meshed. In general, you do not want metal to come in contact with your kefir grains since metal is reactive and may taint your grains. Good choices are plastic, nylon, or bamboo strainers. I use the inner strainer insert from a mini salad spinner.
Sometimes when the kefir is very well done, it will be curdy. If this happens, give the kefir a good stir or shake the jar really well before straining. If the kefir is especially thick, you may need to thump or thwack the strainer a few times over the bowl you are straining the liquid into, or run a silicon spatula back and forth over the grains. The kefir curds should fall into the bowl, and the grains, which are rubbery, should remain in the strainer.
Brewing Milk Kefir
Place the milk kefir grains and 1 cup of milk in a clean, wide mouthed glass jar or container. It is not recommended to brew the kefir in a metal or plastic container. You are starting with a small amount of milk to make sure your grains have adjusted and are growing and brewing the kefir well.
Place a lid on the jar or container and place the jar out of direct sunlight at room temperature. This is not necessary, but it’s helpful to give the jar a slight swish/swirl occasionally to help feed the kefir grains and mix the milk with parts that are turning into kefir.
Depending on the milk to grain ratio and ambient temperature in your kitchen, your kefir will be done in 12 to 36+ hours. When it is done, you will see fine curds clinging to the side of the jar when you swish it, and the bulk of the milk will have become curdy and start to separate into curds and clear yellowish liquid, which is the whey.
At this point, you can stir the contents with a wooden or plastic utensil and the kefir should become smooth and thick like runny yogurt or thickened milk. It should smell fresh and sour, similar to yogurt and taste a bit tart and tangy. You will need to adjust the brew time based on your taste preference. The longer you brew the kefir, the more sour it will get, and the less lactose it will contain. My husband and I love it super sour and we tend to leave the kefir brewing for 3 to 4 days. When done to your liking, strain the grains, and place the grains in a fresh jar of milk to start another brew.
We use raw whole organic cow’s milk. Sometimes the grains take a bit longer to make the first batch and to adjust if using a new type of milk or switching to goat’s milk. Milk kefir grains are very resilient, so don’t worry and just be patient as your grains adjust. After the first few batches, you should be able to start increasing the milk and brew more than a cup at a time with the same grains. A tablespoon of grains can brew close to a quart of kefir once they have adjusted to their environment.
Growing the Kefir Grains
After a few batches, your kefir grains will start increasing in mass. You will notice that your kefir will brew in less time when this starts to happen. Sometimes with too many grains, the kefir may be extra separated into solid curds and whey and won’t get thick even after you give it a good stir. At this time, you can use more milk for brewing each batch, remove some of the grains to give away, or split your grains to make a second or back up batch of grains.
YOU MIGHT ALSO LIKE


